Create a Windows Server 2022 VM with vagrant
Introduction
We are going to see how you can easily create an Active Directory home lab with Vagrant, VirtualBox and Powershell.
This is a 3 part series. In this article, will use Vagrant to create an Windows Server 2022.
- part 1: Create a Windows Server 2022 VM with vagrant.
- part 2: Install the Domain Controller.
- part 3: Add some misconfigurations, and test them with netexec.
If you are already familiar with Vagrant, you might want to skip directly to the install the Domain Controler section.
Installation
First, you need to install vagrant and virtualbox.
If you are on Linux, you can probably use the packages from your distribution, as we don’t rely on any new features. Homebrew should also do the job.
My setup uses Vagrant 2.4.1, and VirtualBox 7.0.18 on a Ubuntu 22.04 laptop. But again, we don’t rely on any specific feature, so whatever should do.
You can also use VMware if you want, but in this tutorial we will use VirtualBox.
We won’t use ansible to keep things easy to deploy.
Create a Windows Server
This part is surprisingly easy.
Let’s create a folder ad_lab for our project, and create a Vagrantfile inside it.
Your folder should look like this:
ad_lab
└── Vagrantfile
Put the following content in your Vagrantfile:
# -*- mode: ruby -*-
# vi: set ft=ruby :

Vagrant.configure("2") do |config|

  # Base box image
  config.vm.box = "StefanScherer/windows_2022"
end
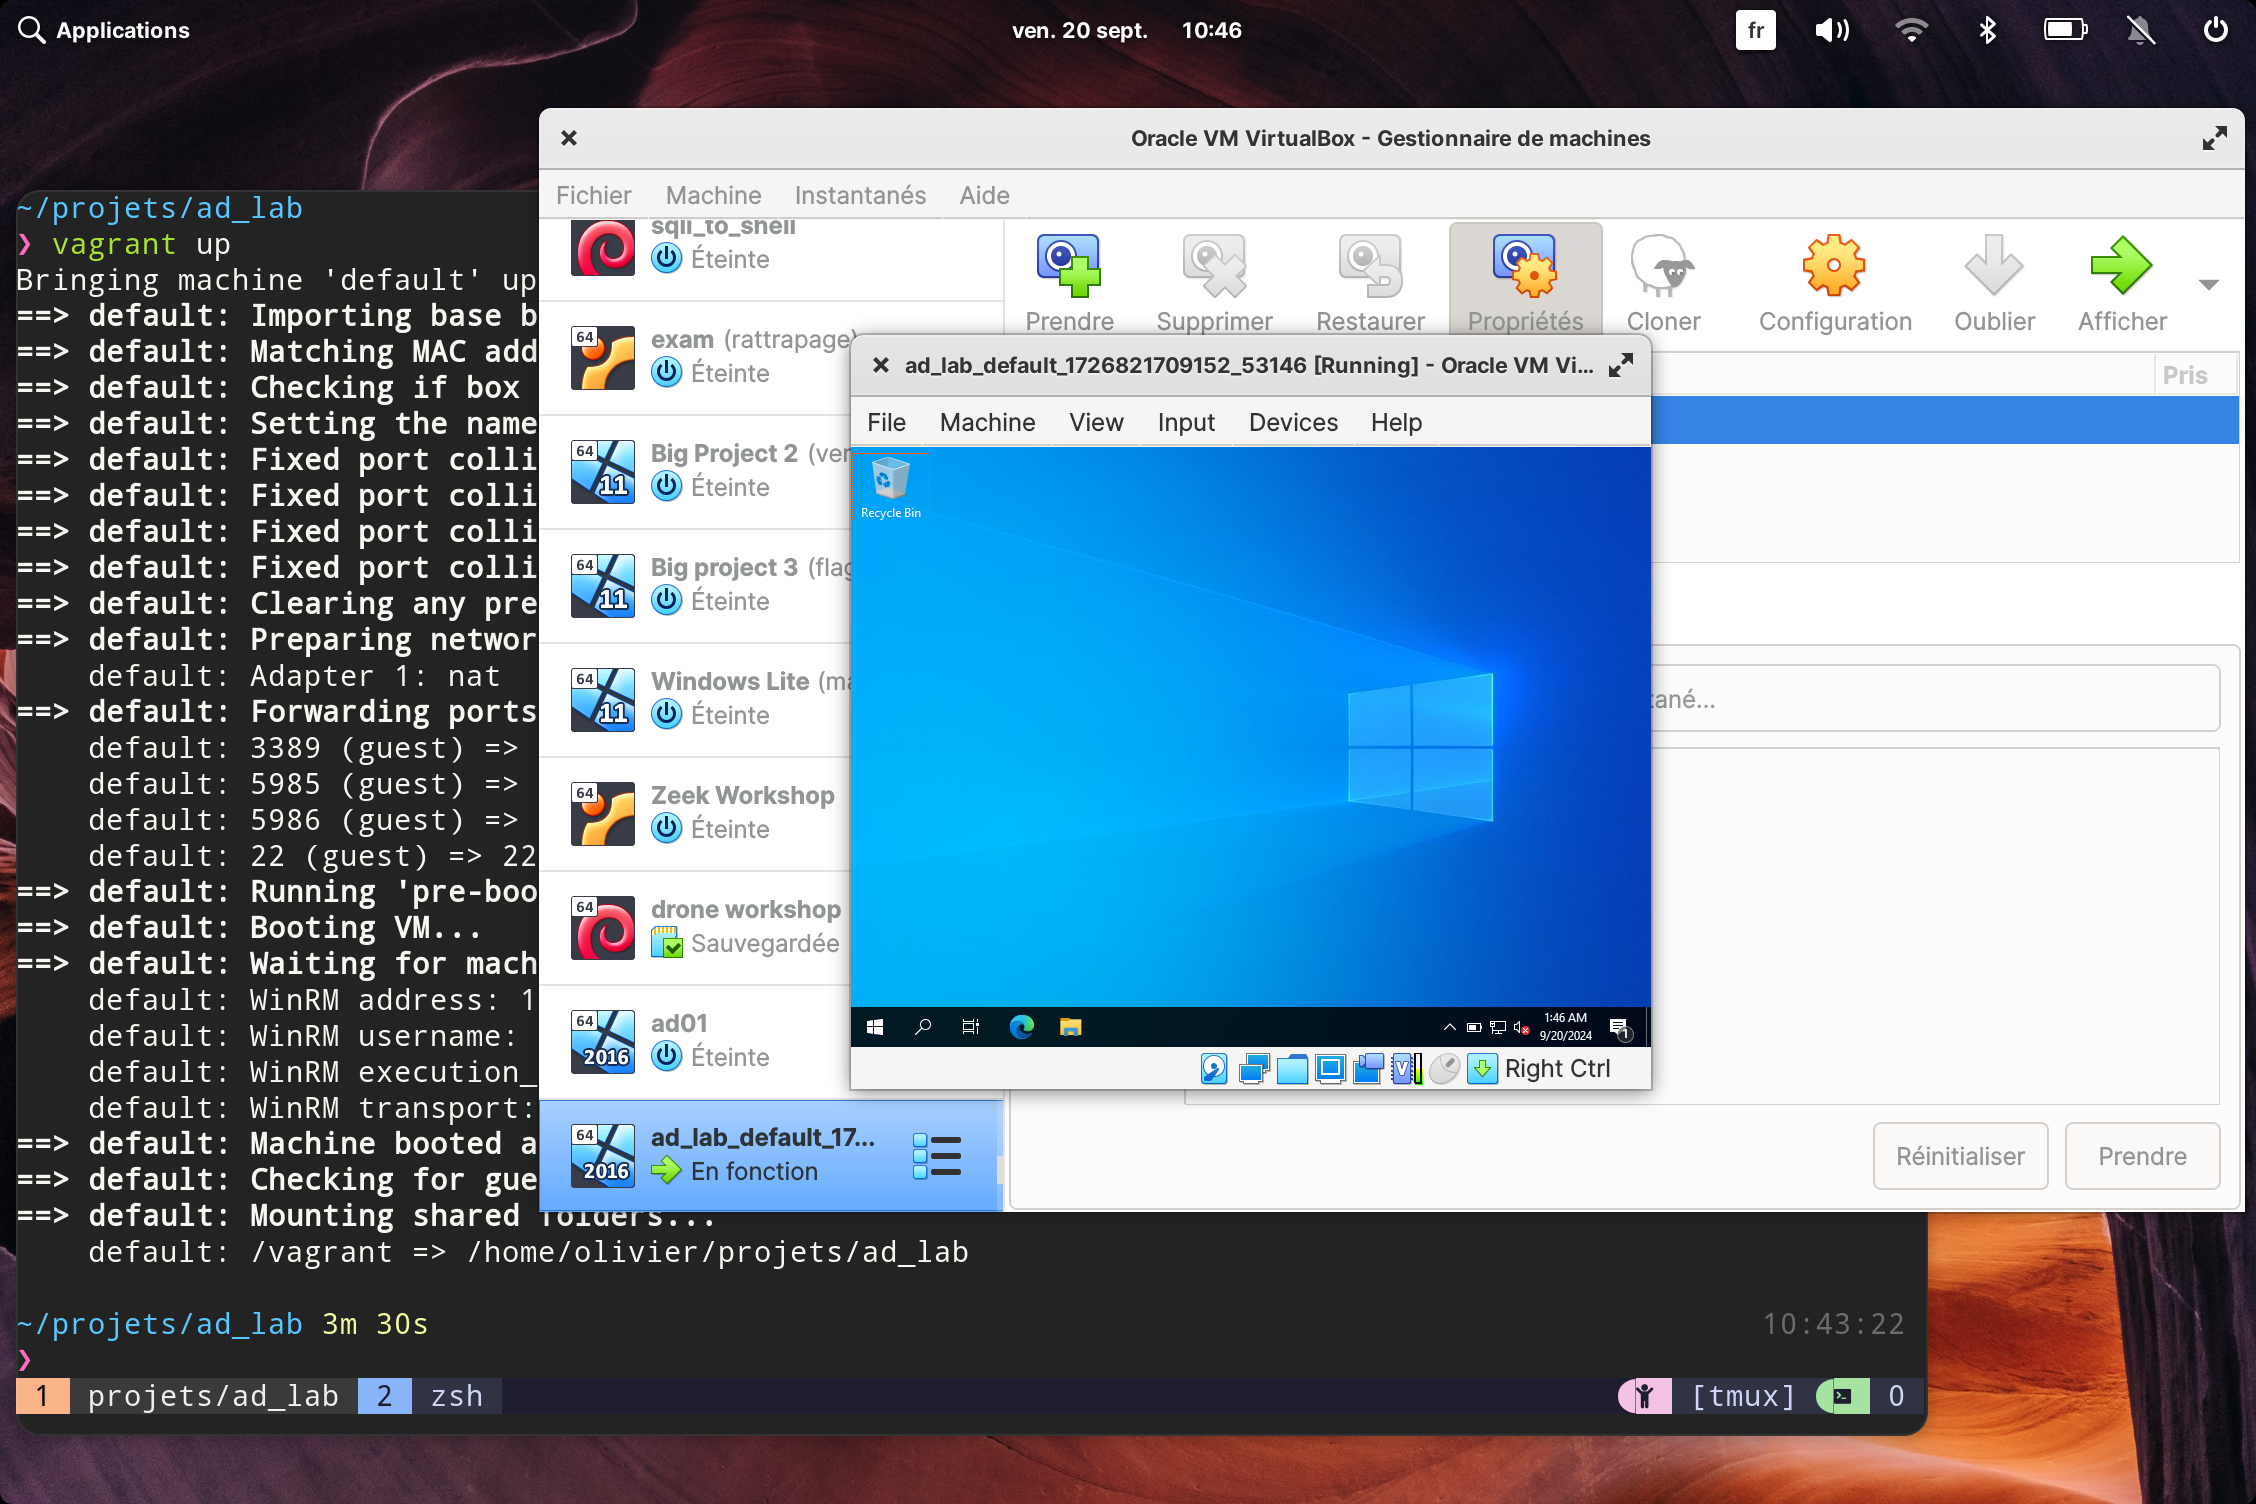
Run the command vagrant up inside the folder, and voilà you’ve created a Windows 2022 server Virtual machine.
What did we just do ?
Vagrant lets you easily create Virtual Machine on your local computer, on a proxmox or a cloud provider.
The main idea is to use infrastructure as code and to use scripts to create reproducible environments.
Stefan Scherer has created a brunch of Windows VM template from the evaluation versions of Windows.
Since things aren’t going to run for months, and we can recreate the lab with vagrant up so we don’t mind using an evaluation version of Windows.
Clean things up
You can delete the VM you’ve created by running the following command from the ad_lab folder:
vagrant destroy
Customize our VM
Let’s customize our VM a bit by giving it a name, and an IP address.
Name
Add the following to your Vagrantfile:
# Configure a name for the VM
config.vm.hostname = "dc01"
config.vm.define "dc01"
- With
vm.hostname, the VM will usedc01has her hostname. config.vm.defineis used to give a name to the virtual machine. So when we start our VM withvagrant up, the name isdc01instead ofdefault:
❯ vagrant up
Bringing machine 'dc01' up with 'virtualbox' provider...
==> dc01: Importing base box 'StefanScherer/windows_2022'...
But the name in VirtualBox is still a bit weird, like ad_lab_dc01_1726832429414_18289.
If we want a specific name in VirtualBox, we can use some instructions specific to this provider.
# Setup the name in virtualbox
config.vm.provider "virtualbox" do |v|
  v.name = "dc01"
end
The provider is the tool we use to build our VM. Vagrant also supports VMware, docker, proxmox, etc… VirtualBox is the default provider.
config.vm.provider "virtualbox" defines some instructions for VirtualBox.
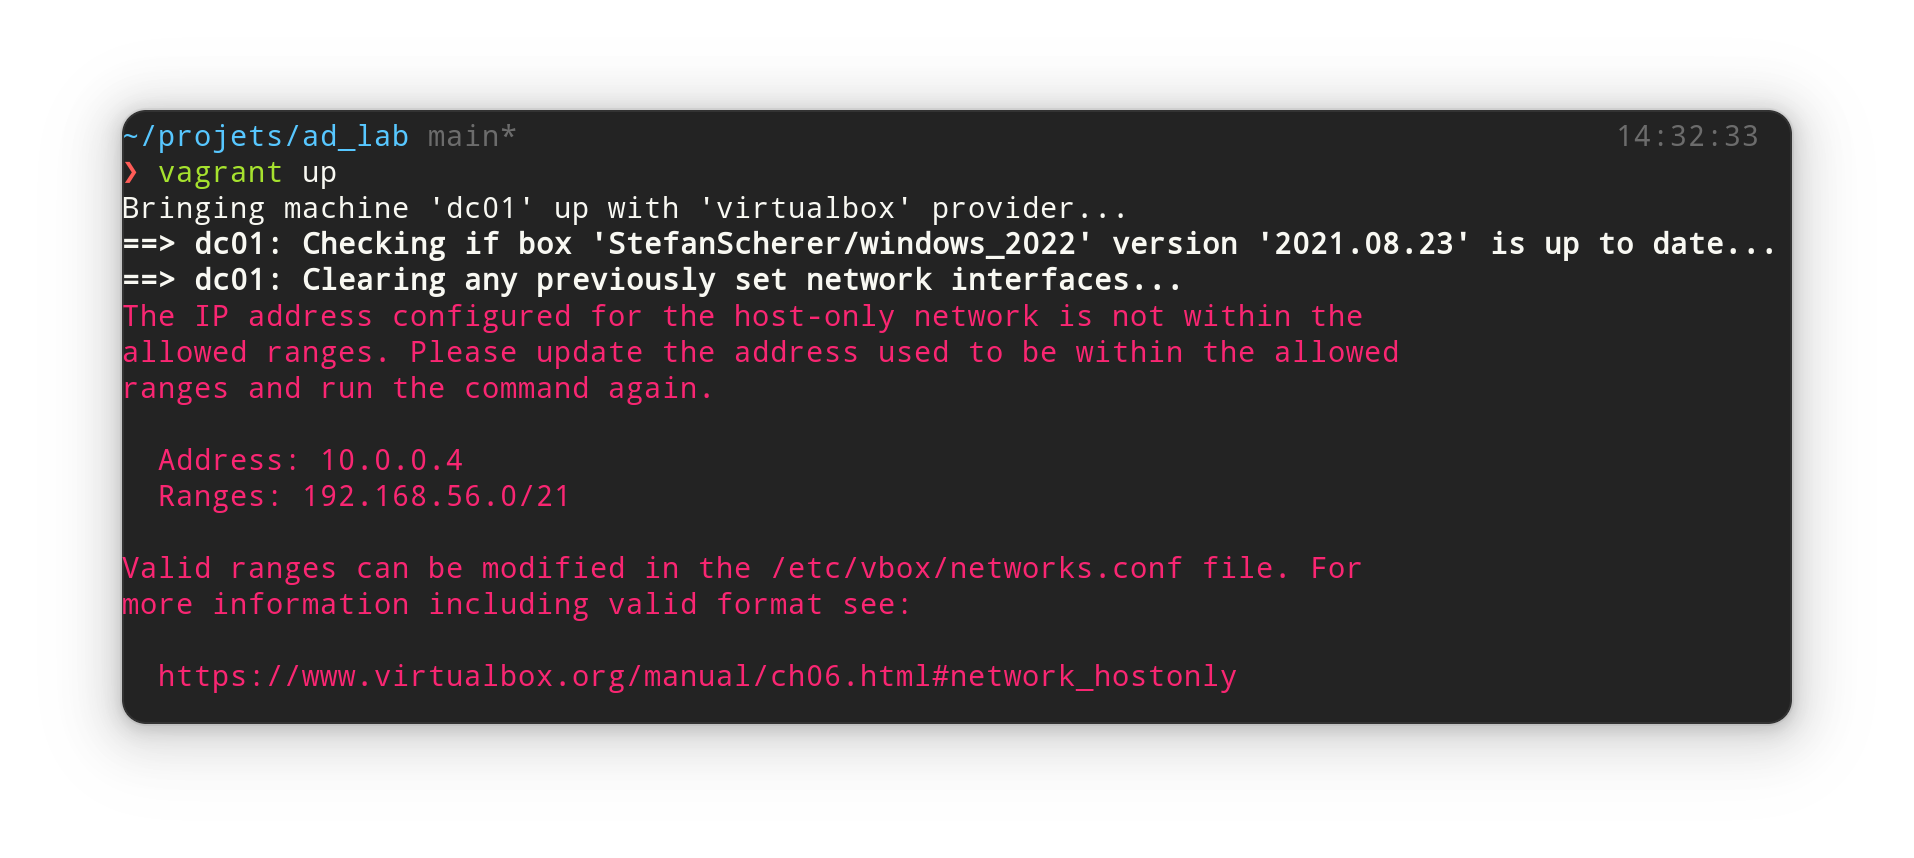
IP address
Setting up an IP address is pretty straightforward.
Add this to the Vagrantfile:
# Add a static IP on a host-only network
IP = "192.168.56.4"
config.vm.network "private_network", ip: IP
Vagrant will be unhappy if the IP is not in the IP range of your virtual network manager. Just take an IP that matches.
Result

By now your Vagrantfile should look like this:
# -*- mode: ruby -*-
# vi: set ft=ruby :

Vagrant.configure("2") do |config|

  # Base box image
  config.vm.box = "StefanScherer/windows_2022"

  # Configure a name for the VM
  config.vm.hostname = "dc01"
  config.vm.define "dc01"

  # Change the name in VirtualBox
  config.vm.provider "virtualbox" do |v|
    v.name = "dc01"
  end

  # Add a static IP on a host-only network
  IP = "192.168.56.4"
  config.vm.network "private_network", ip: IP
end
Conclusion
In this tutorial, we have created a Virtual Machine of Windows 2022 Server using vagrant.
You can find the code for this article in this Github repository: https://github.com/0xfalafel/ad_lab.
In the next part, we will provision the VM. And install Active Directory using Powershell.